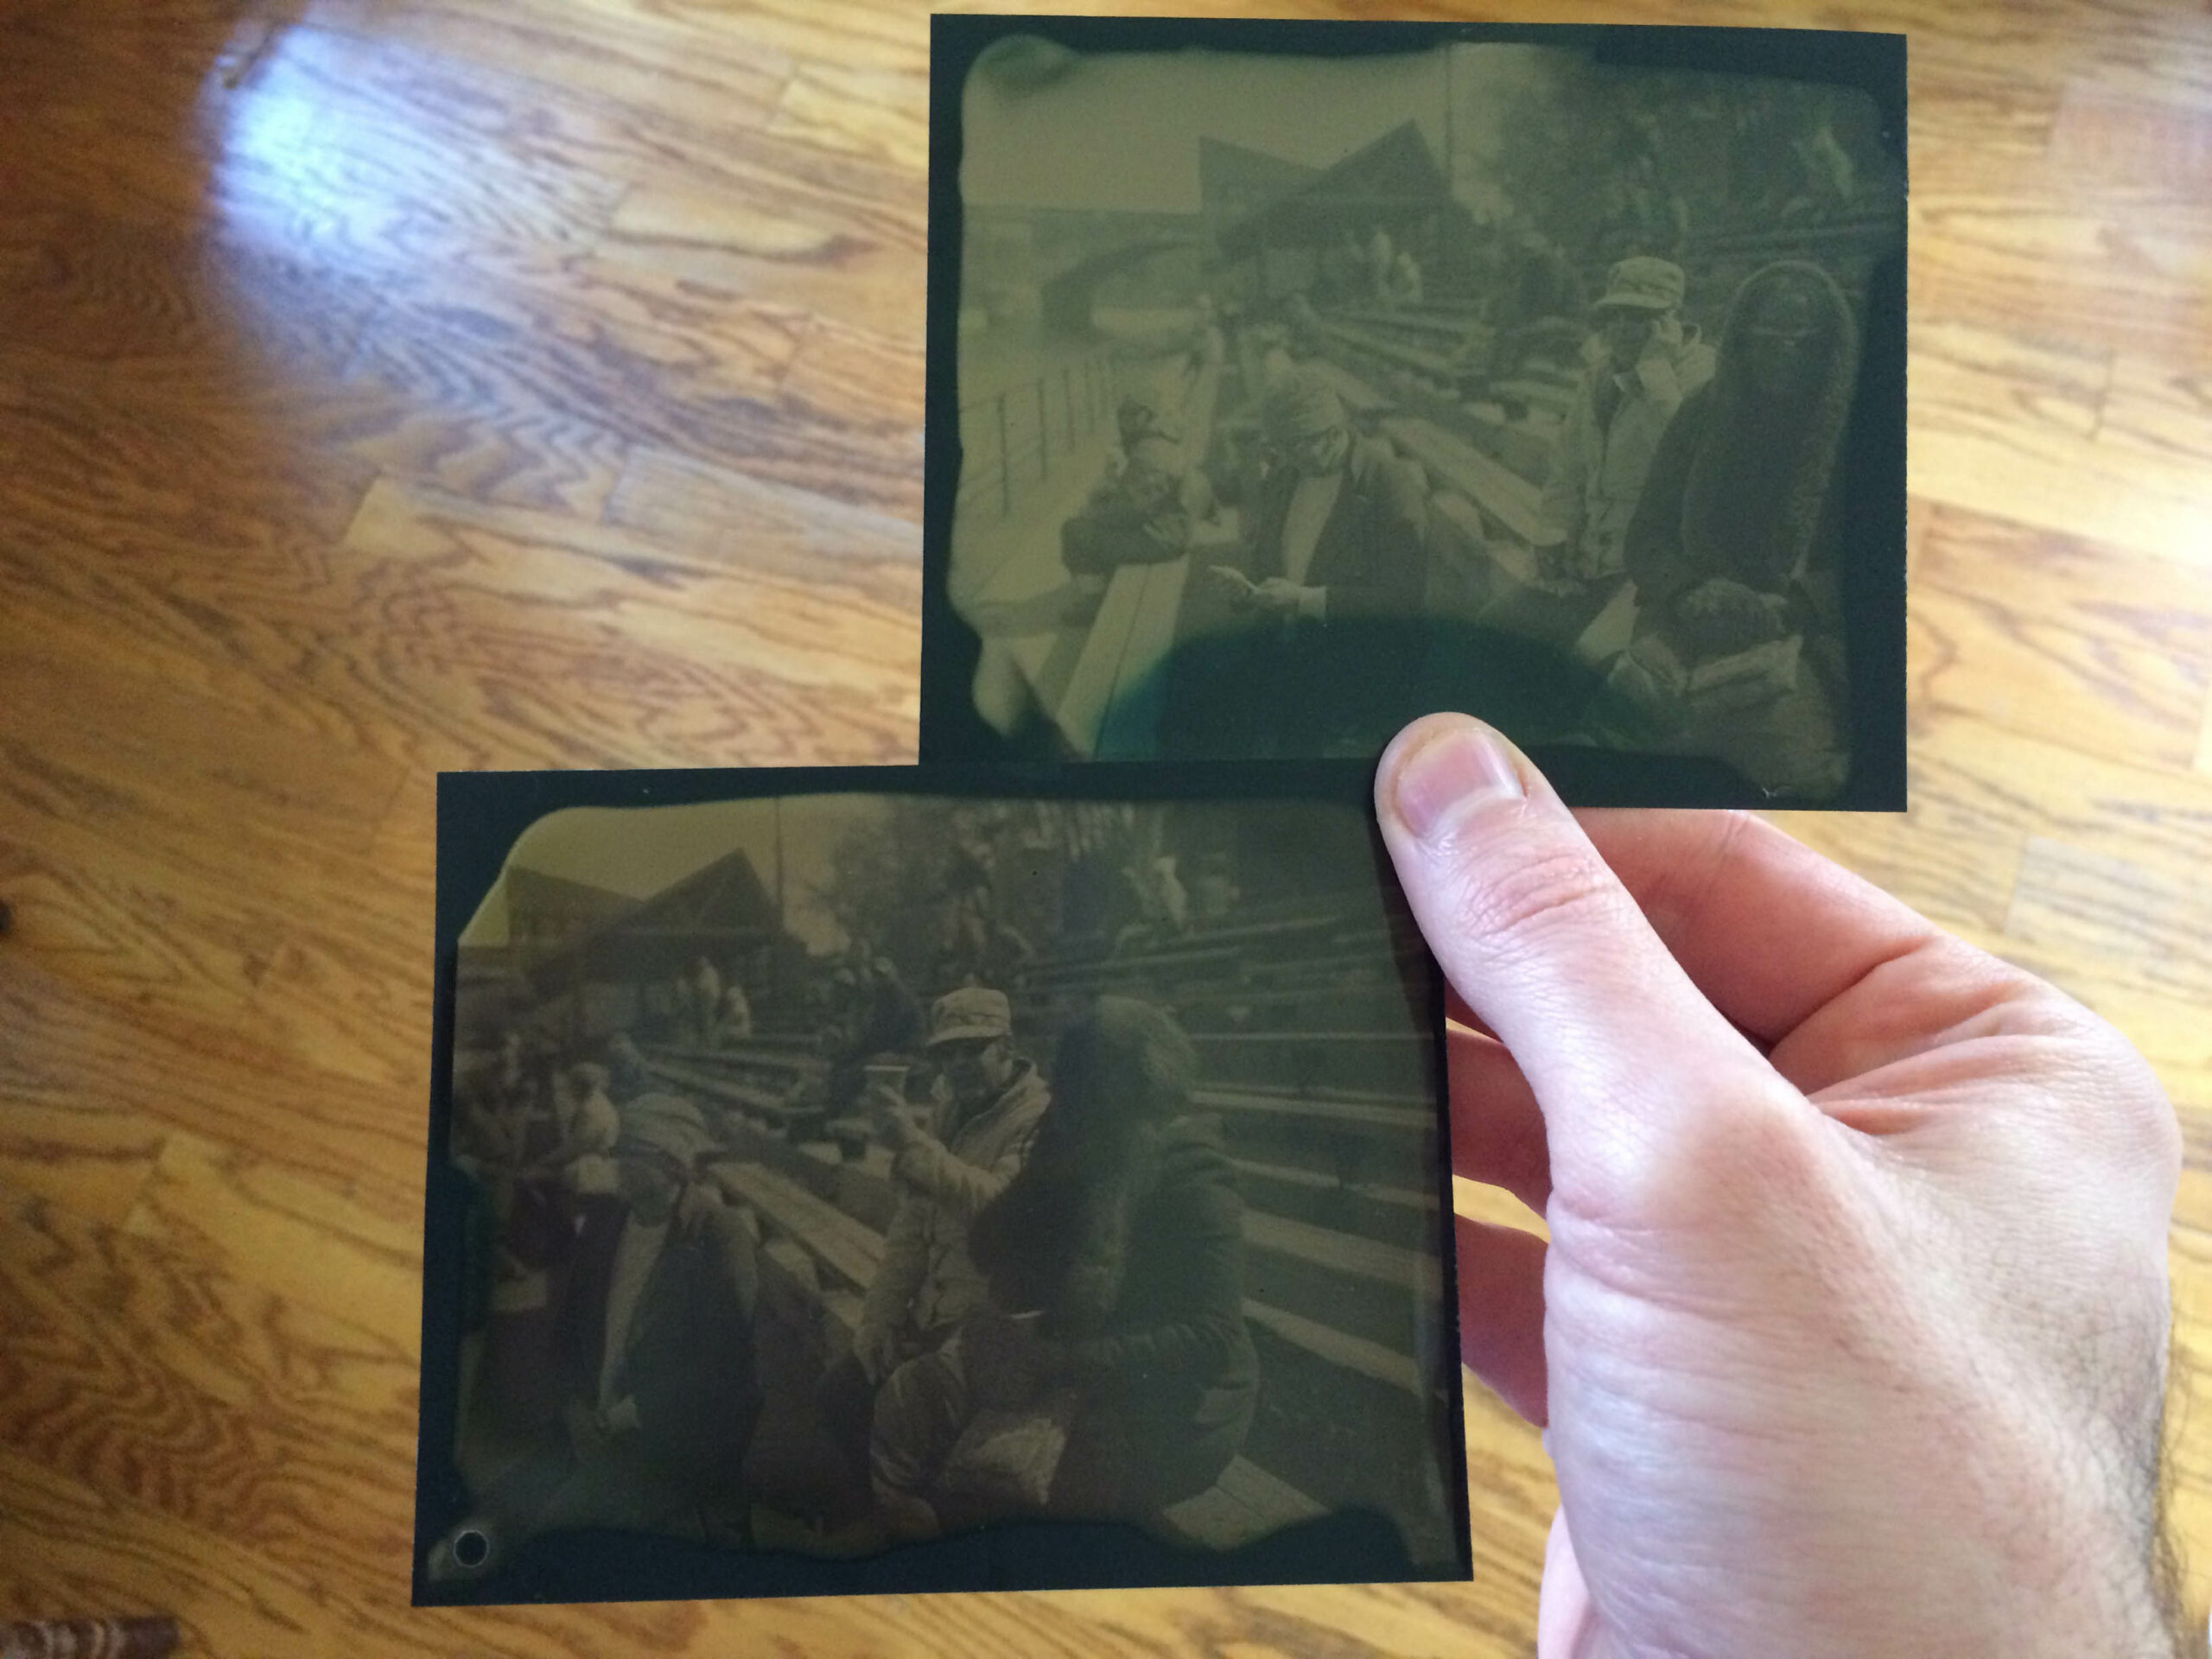
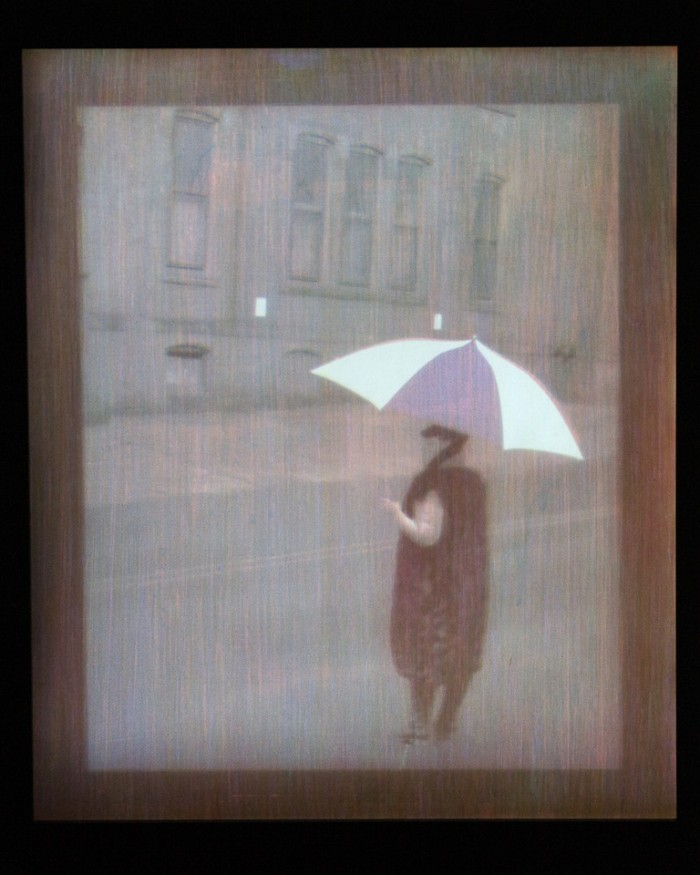
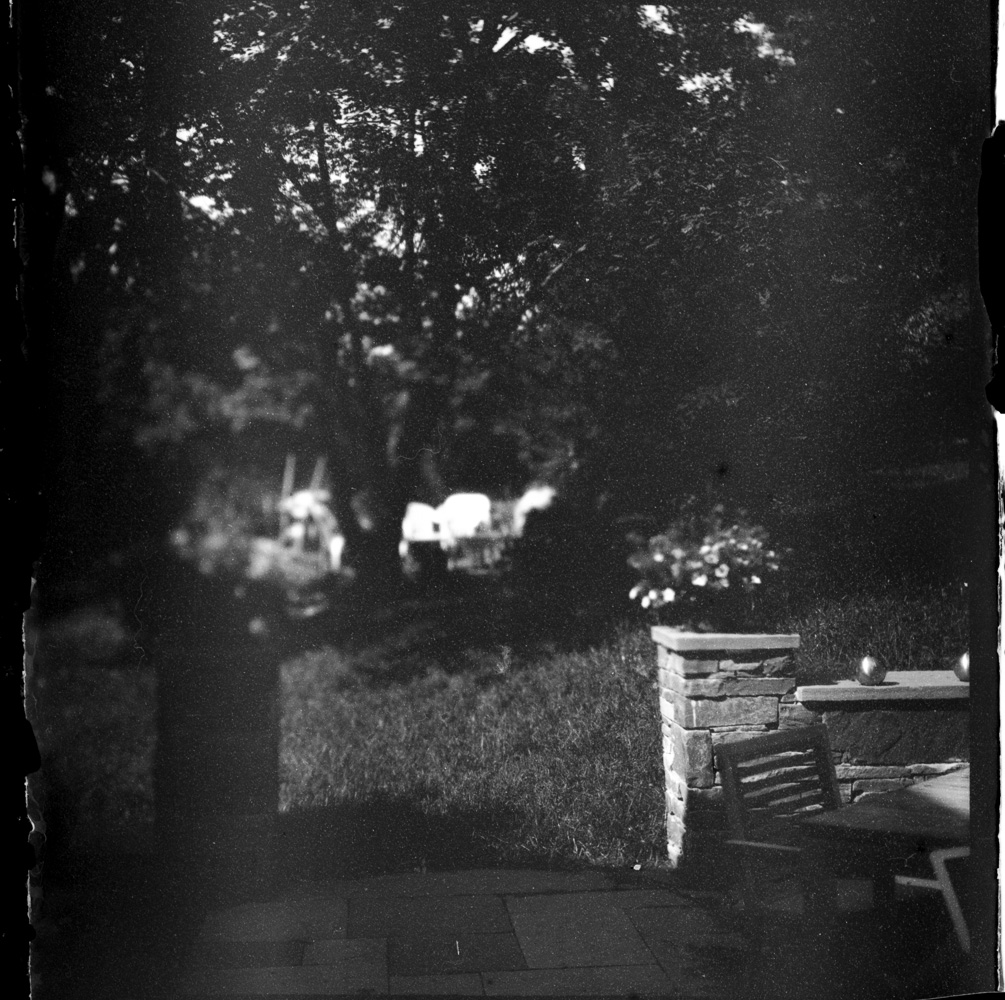
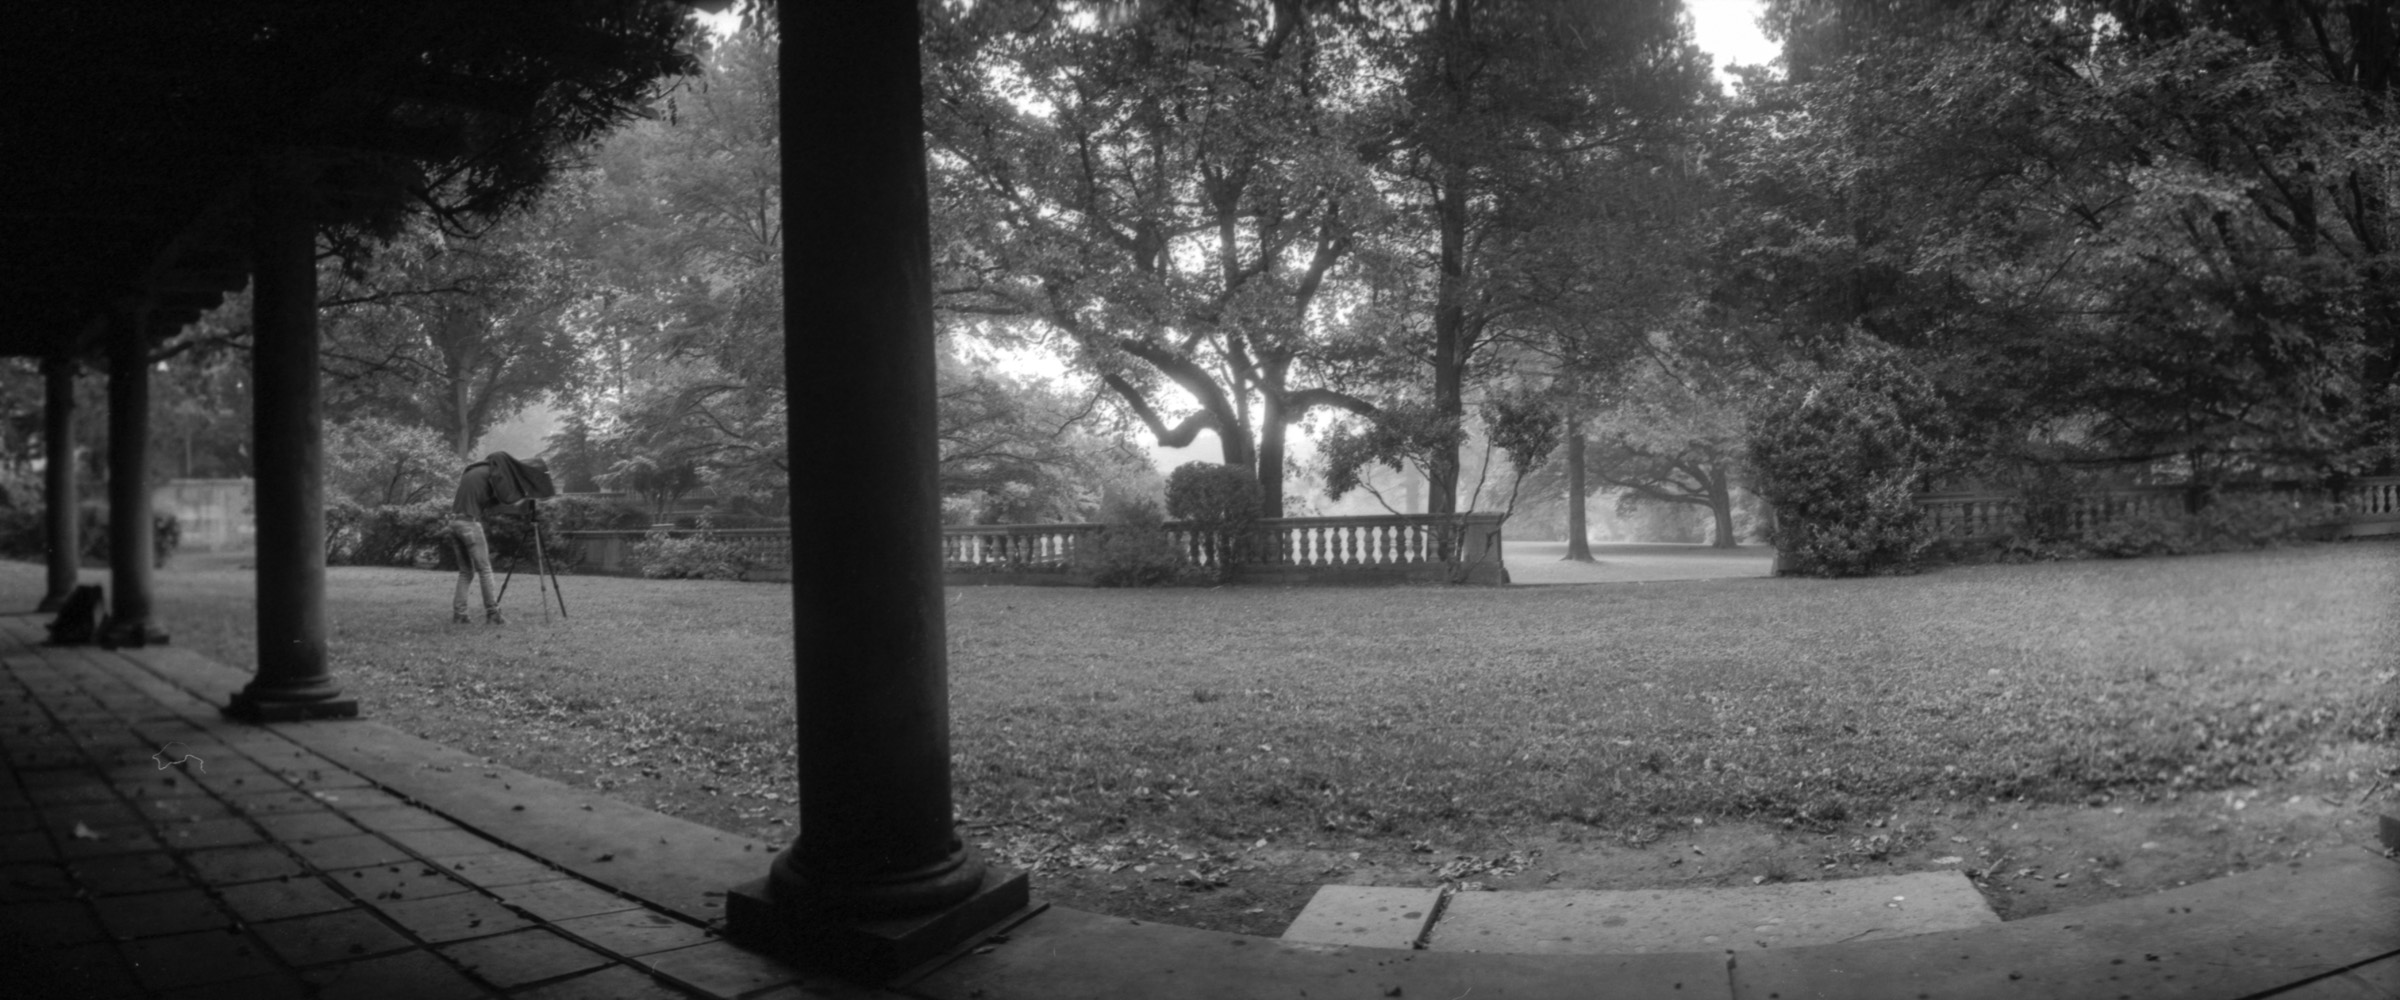
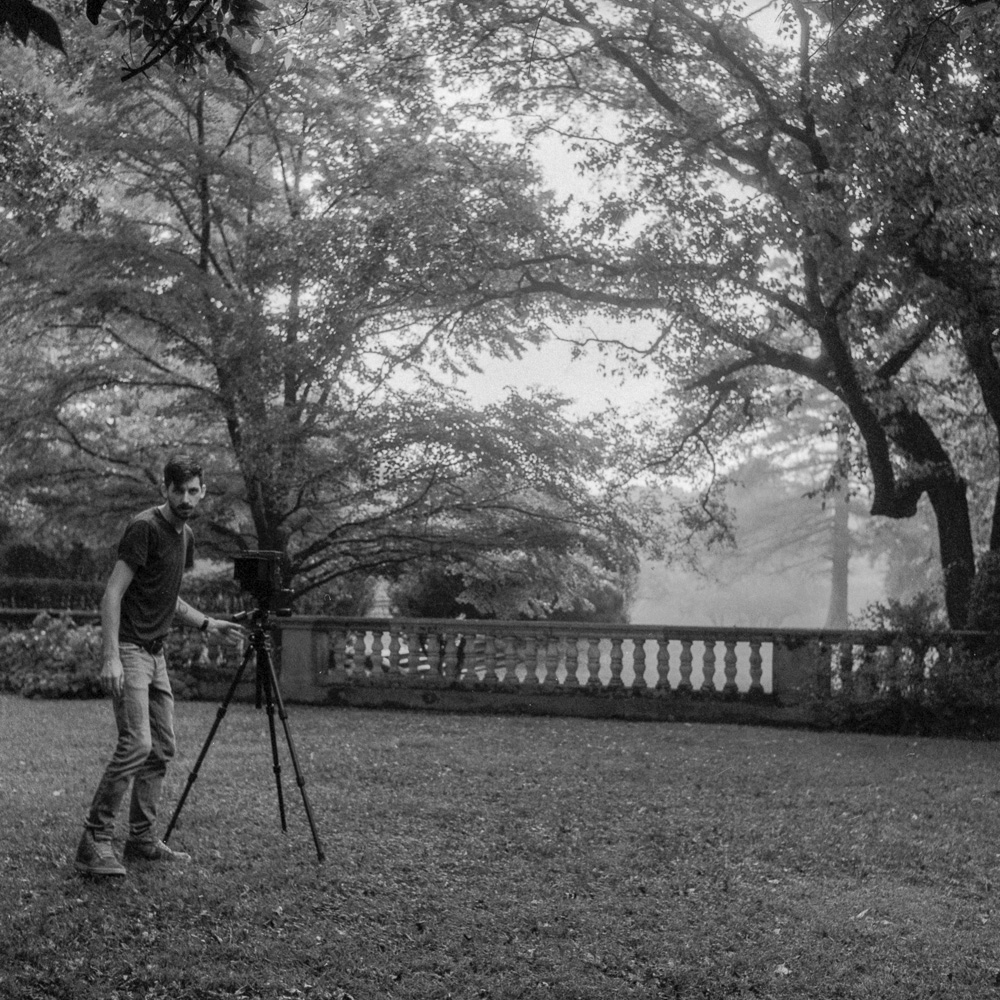
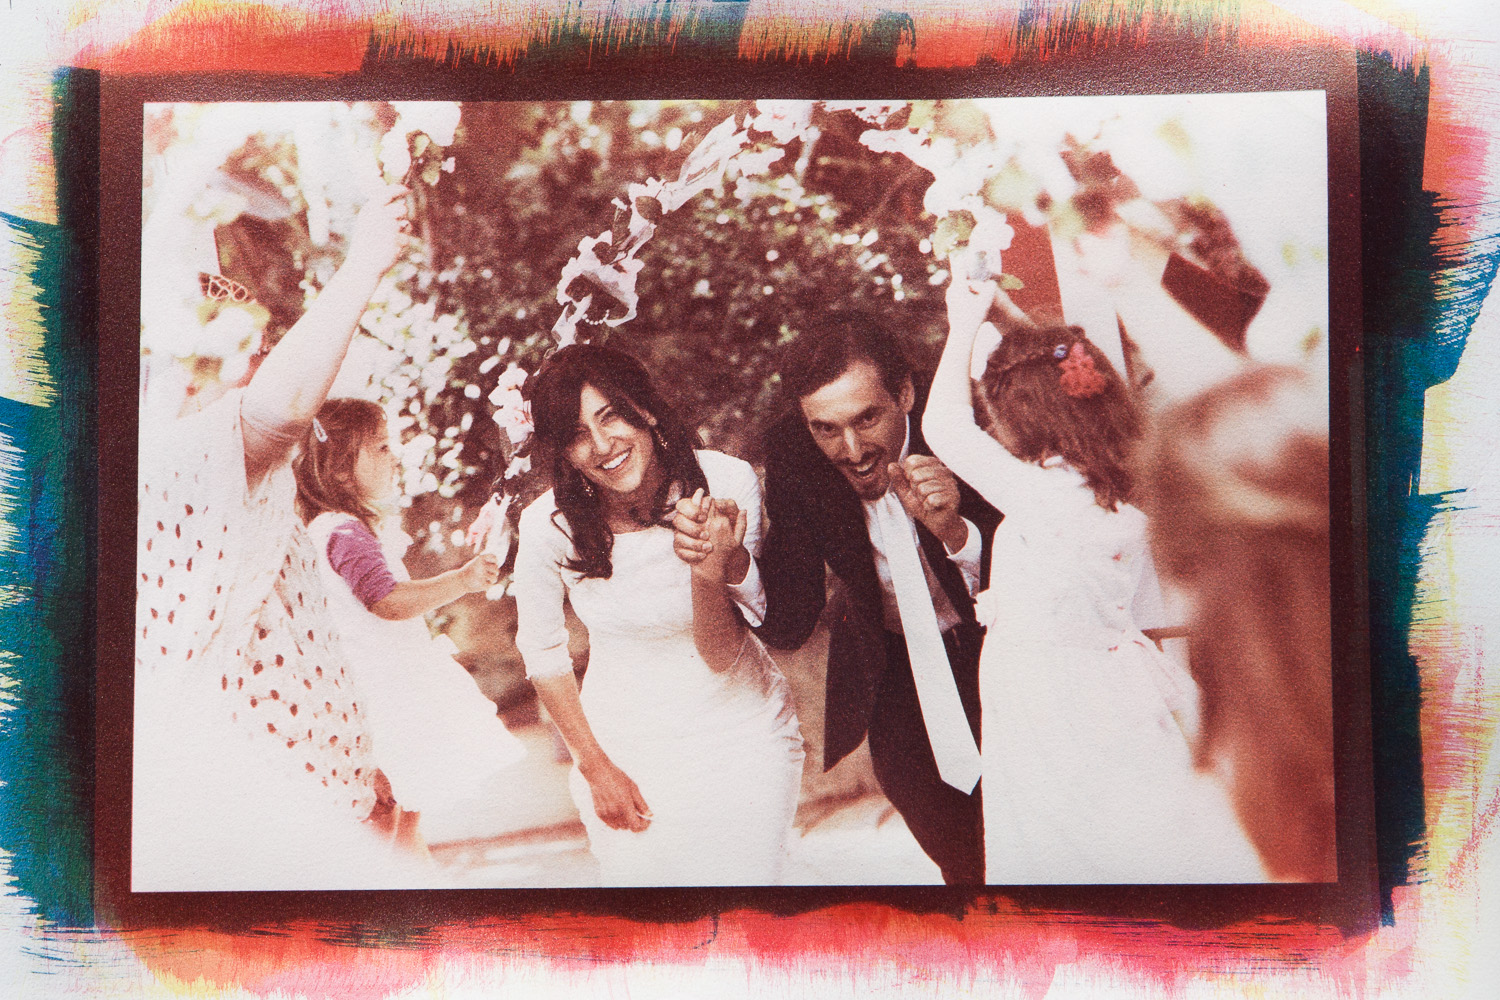
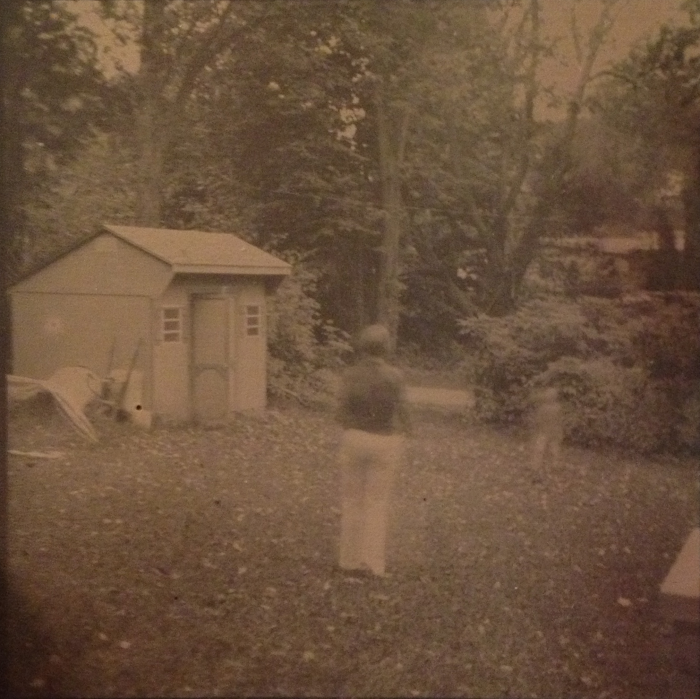
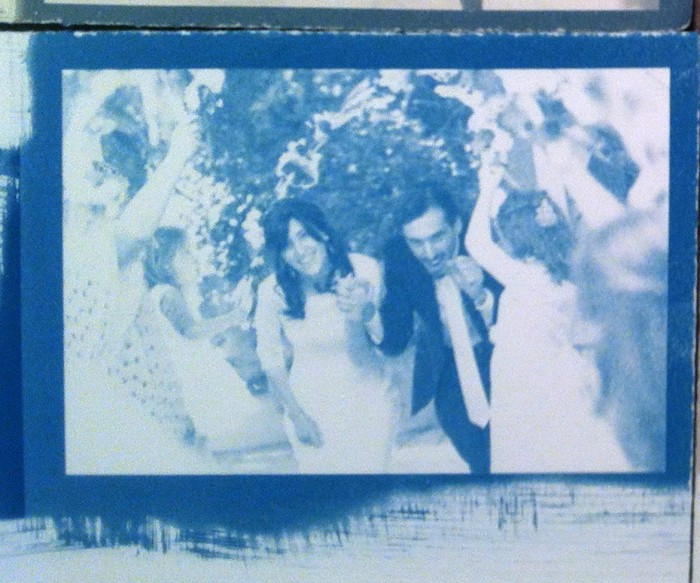
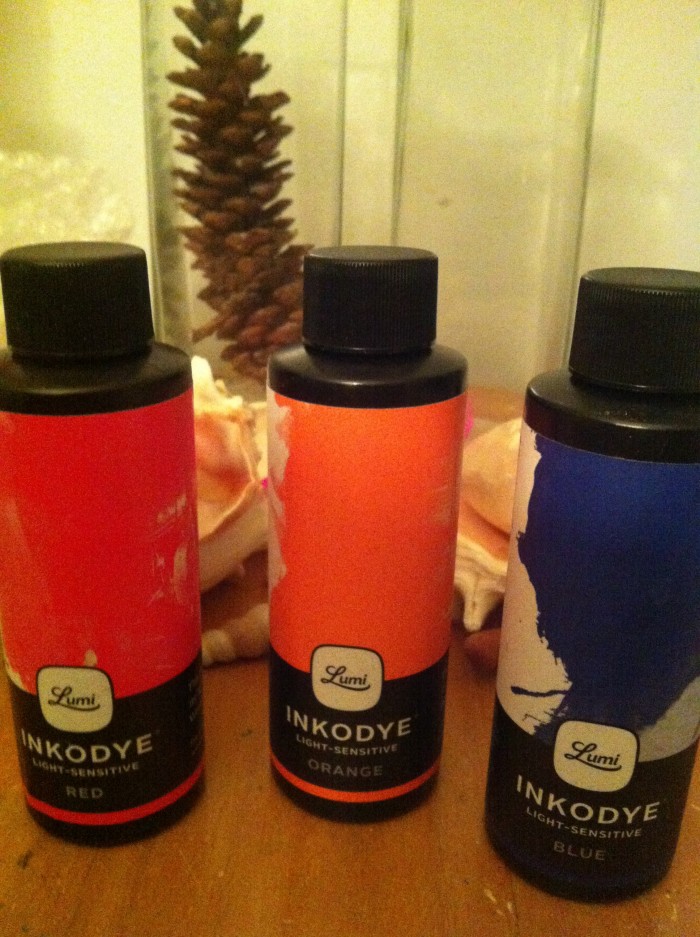
It’s been a busy week here in quarantine-land! Jakob (my son, now a 9th grader) is in a one-week mini-course exploring experimental photography. Since we’re
Read More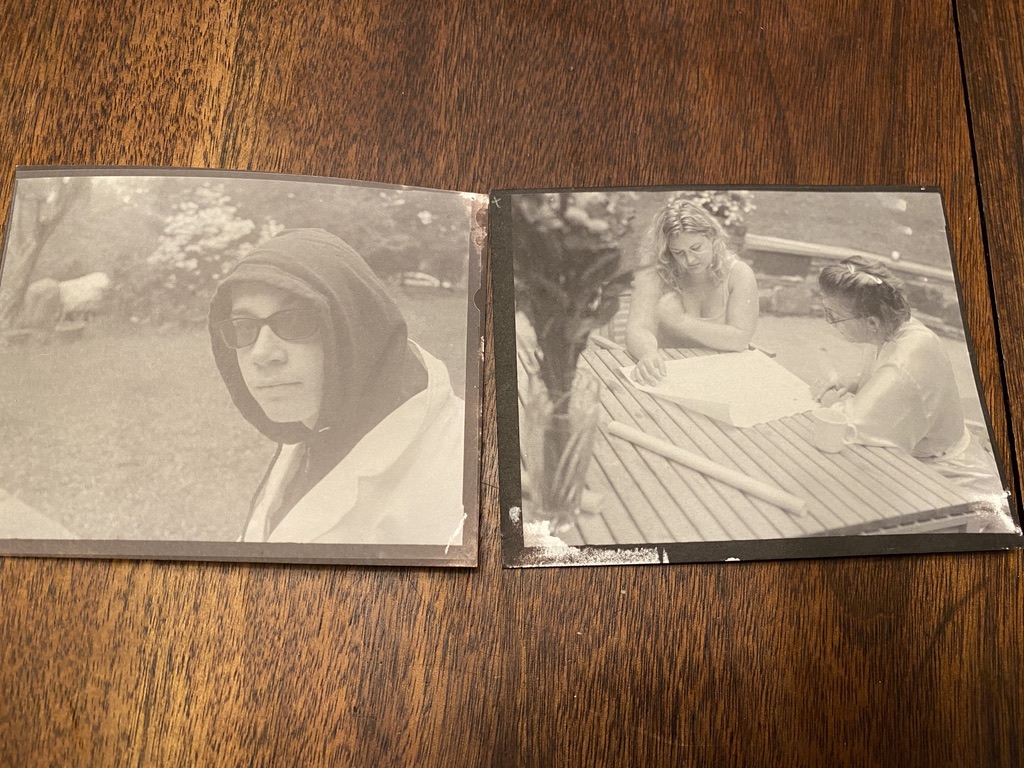
It’s been a busy week here in quarantine-land! Jakob (my son, now a 9th grader) is in a one-week mini-course exploring experimental photography. Since we’re